Choose your export file type and columns
Last reviewed 15 November 2026 · 5 steps
Download a statement as CSV, OFX, QIF or an accounting-app CSV, and set the columns, date format and presets for your CSV.
Free account
Steps
Open the statement and press Export CSV
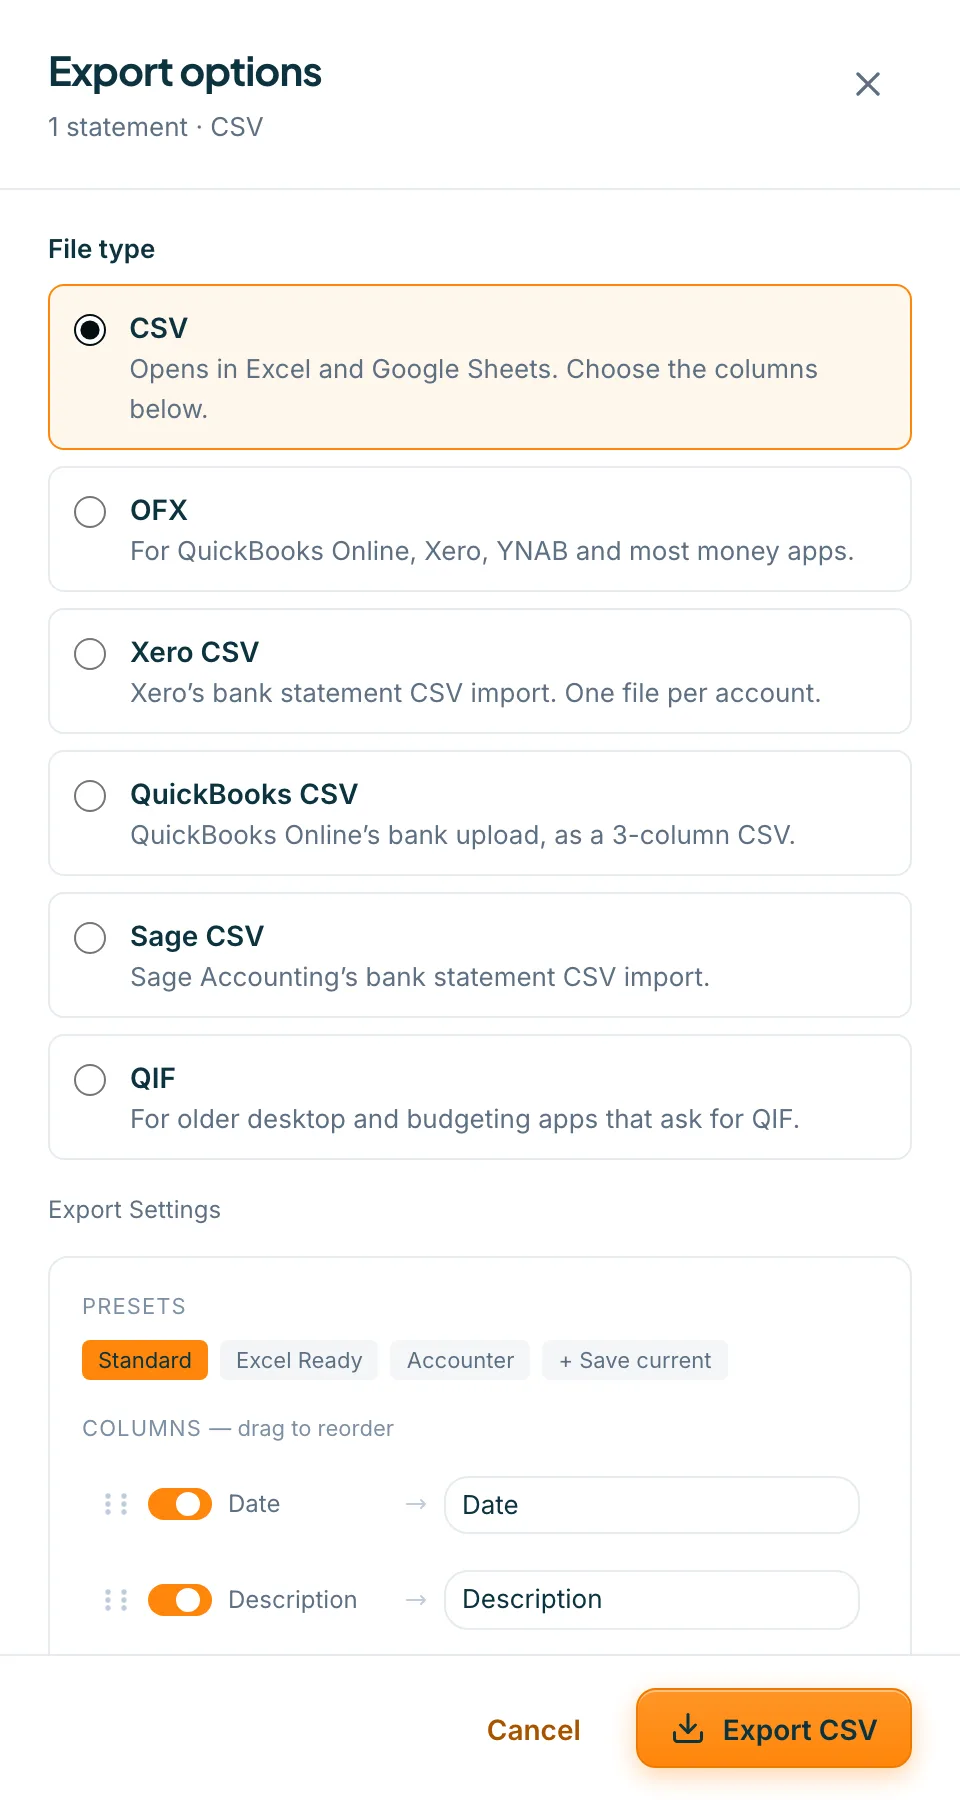
Choose Statements in the left menu, open the statement and press Export CSV in the header. The Export options panel opens on the right. It says how many statements the export covers and which file type is chosen.
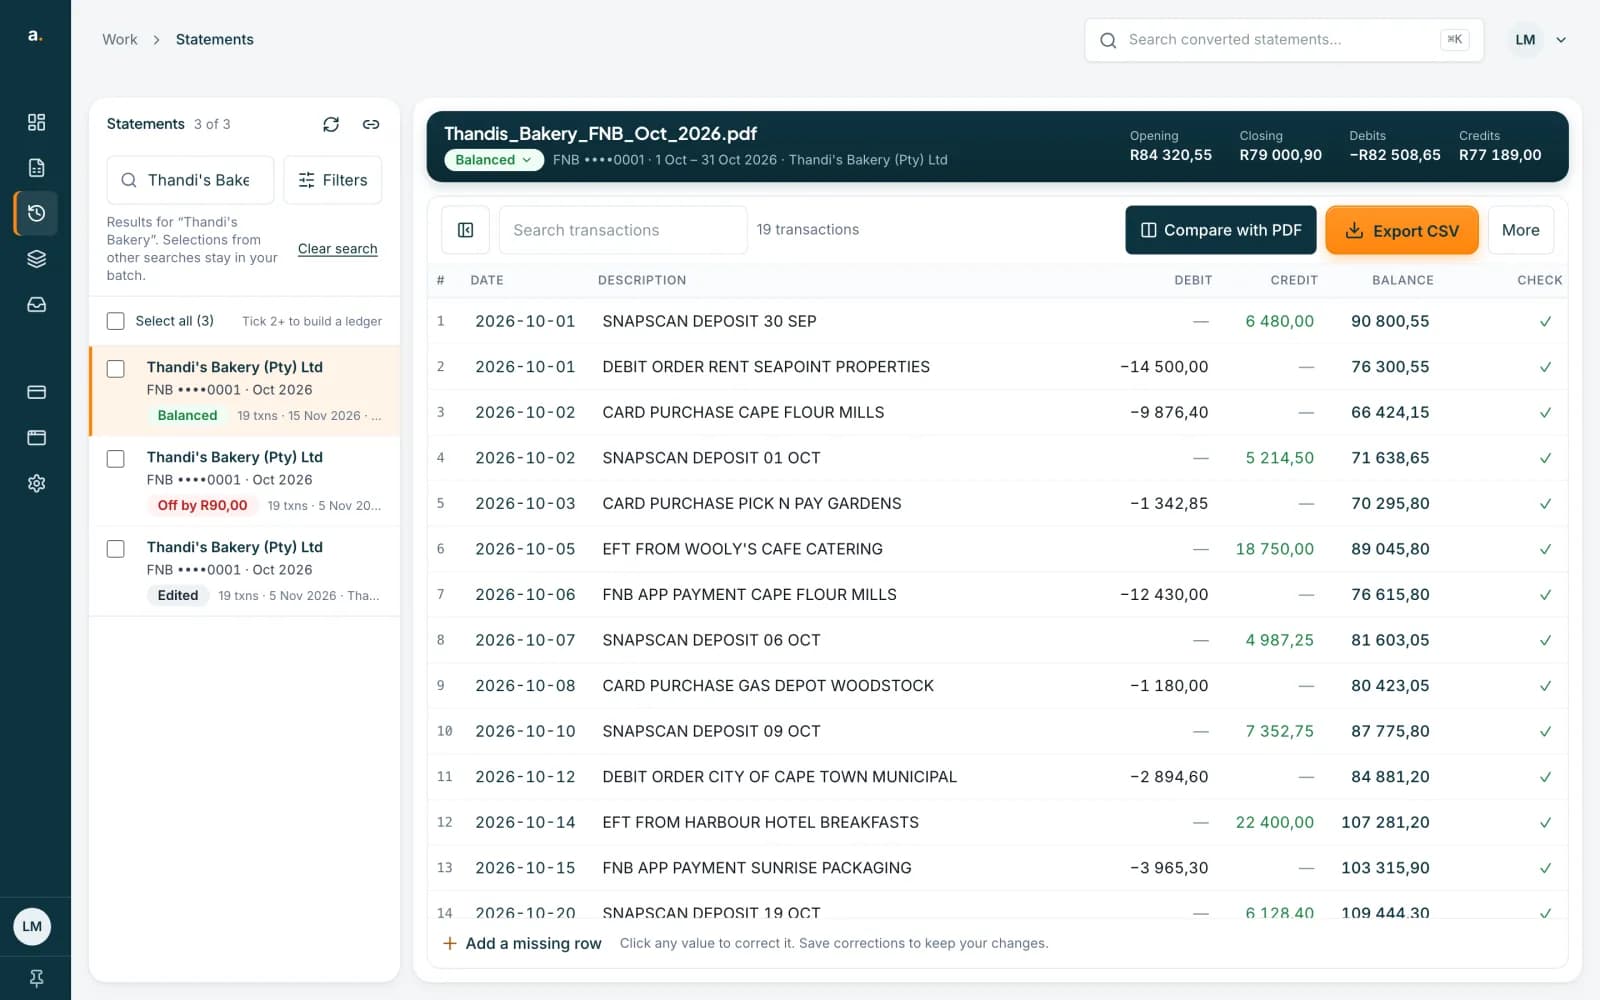 Open full size screenshot for step 1
Choose a file type
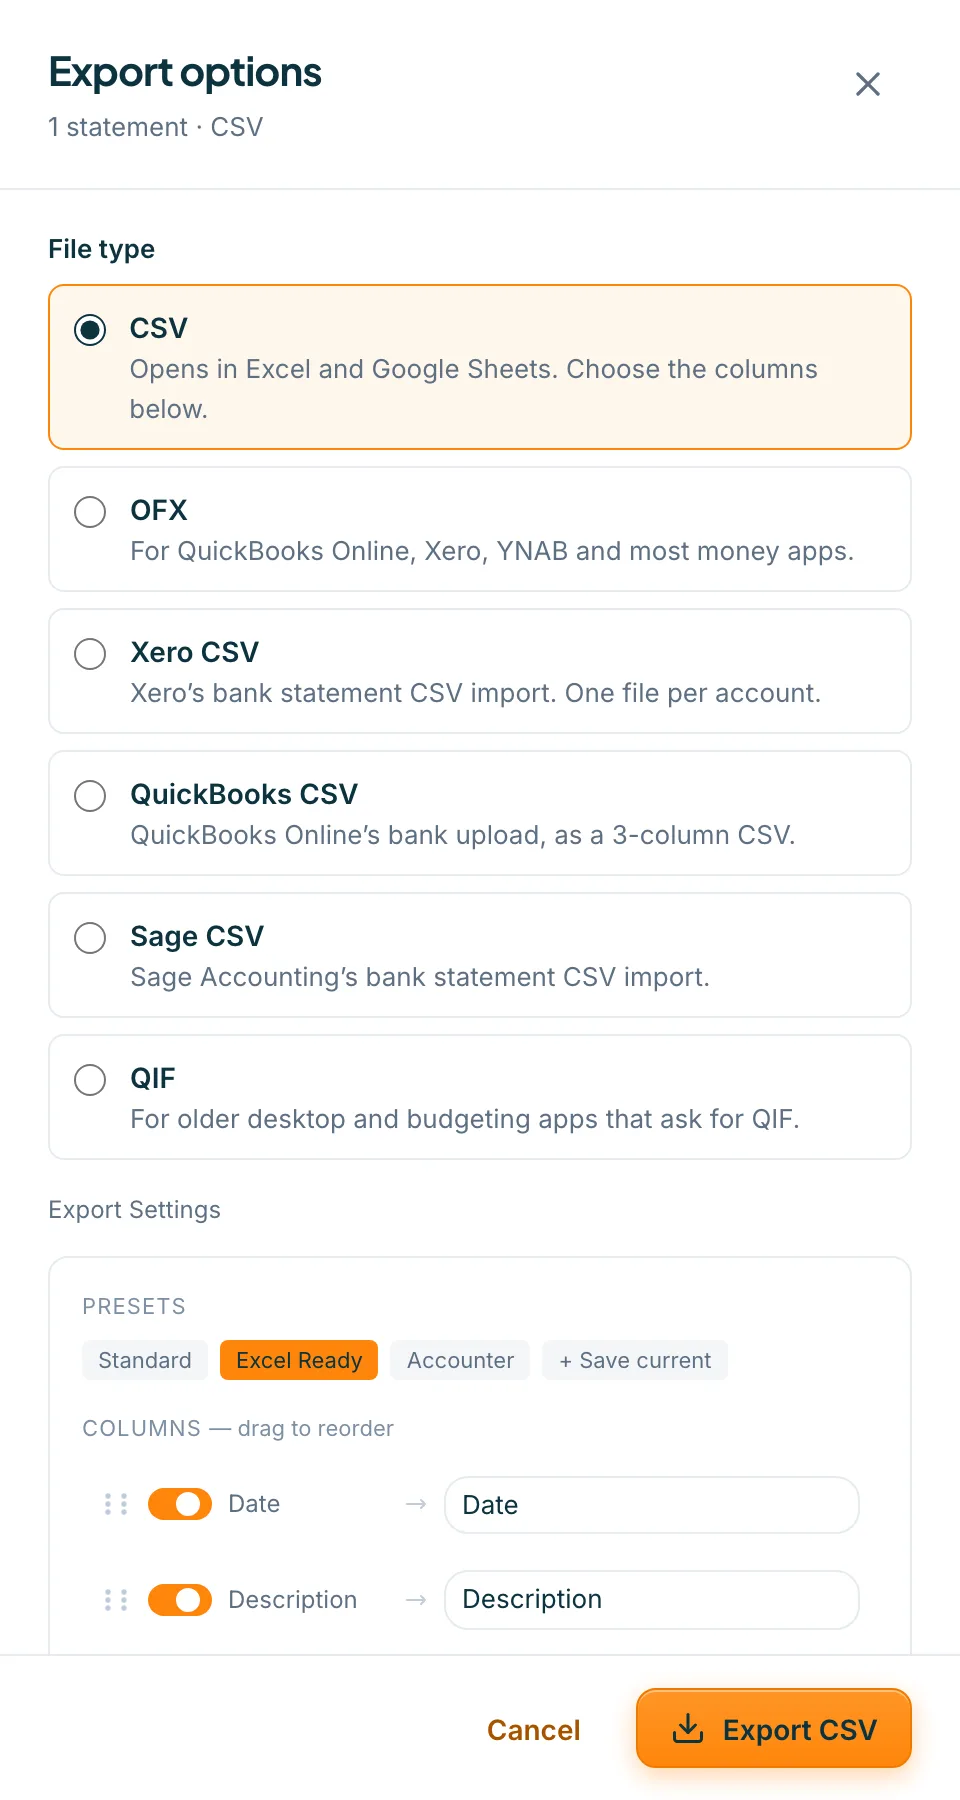
Under File type there are six choices. CSV opens in Excel and Google Sheets, and you choose its columns. OFX is for QuickBooks Online, Xero, YNAB and most money apps. Xero CSV, QuickBooks CSV and Sage CSV match those apps' bank statement imports. QIF is for older desktop and budgeting apps. The button at the bottom changes to match, for example Export OFX.
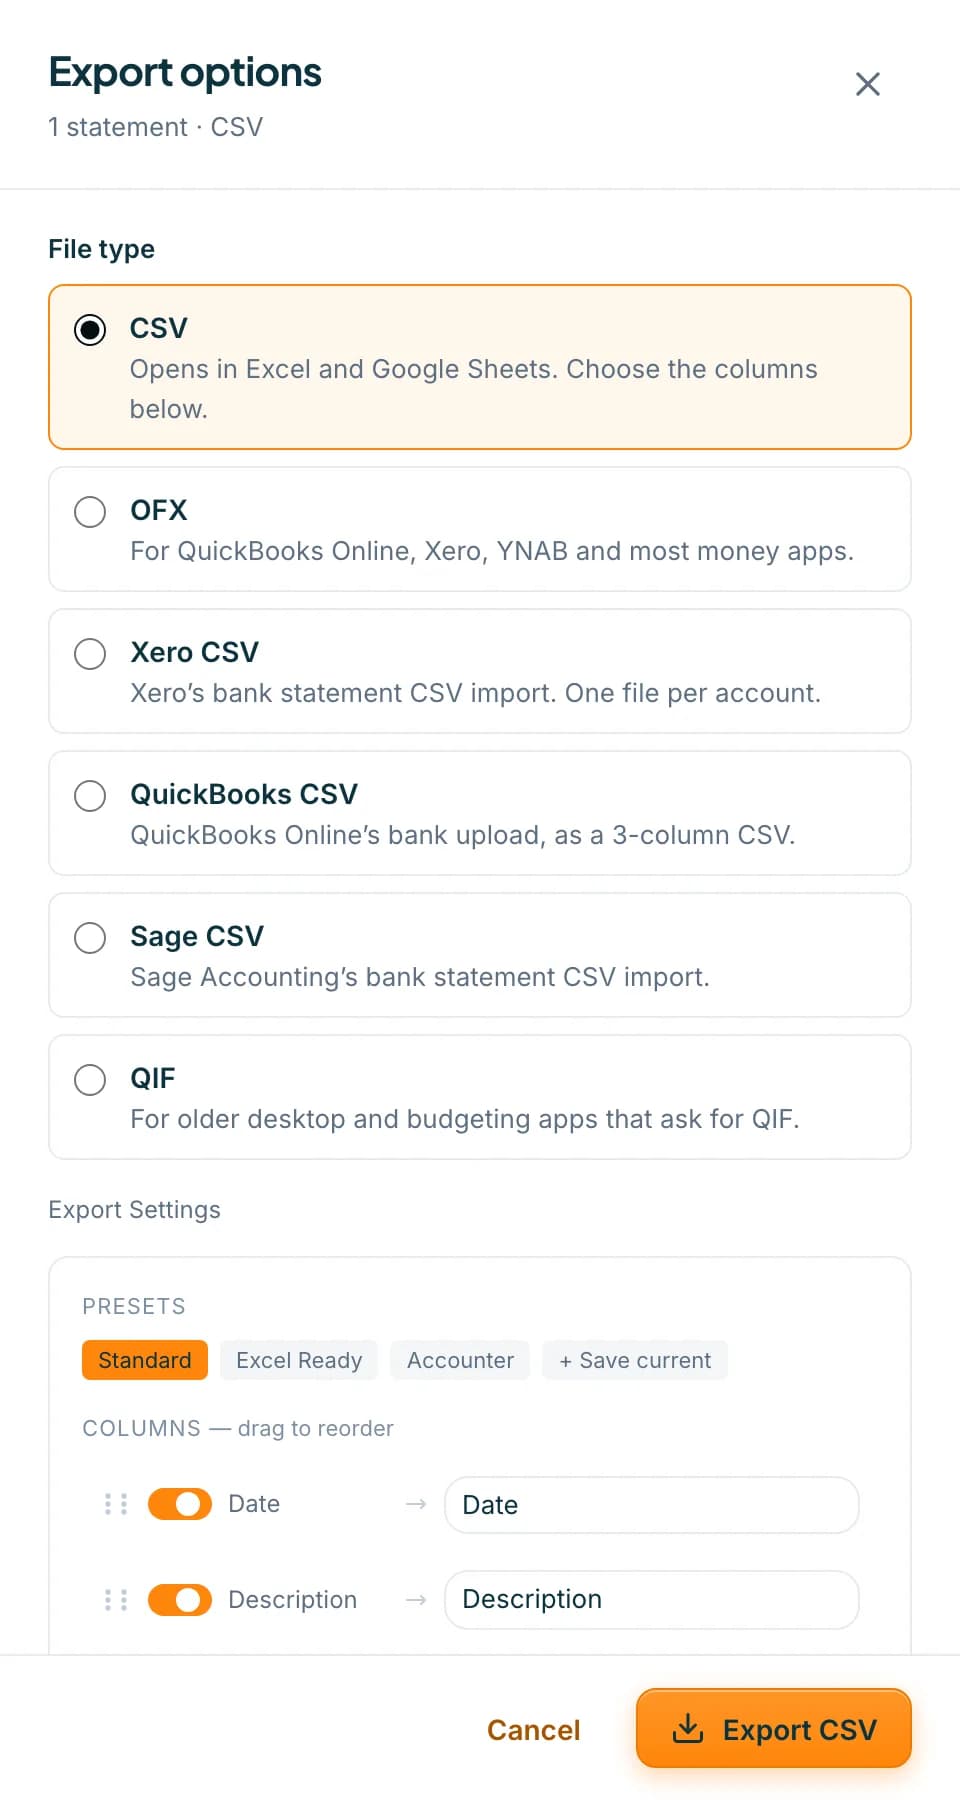 Open full size screenshot for step 2
For CSV, pick a preset
Under Presets, choose Standard (Date, Description, Debit, Credit and Balance), Excel Ready (Date, Description, one Amount column, Balance, Bank, AccountHolder and AccountNumber, with dates as YYYY-MM-DD) or Accounter (Date, Description and Amount only). The CSV header preview shows the exact header row you will get.
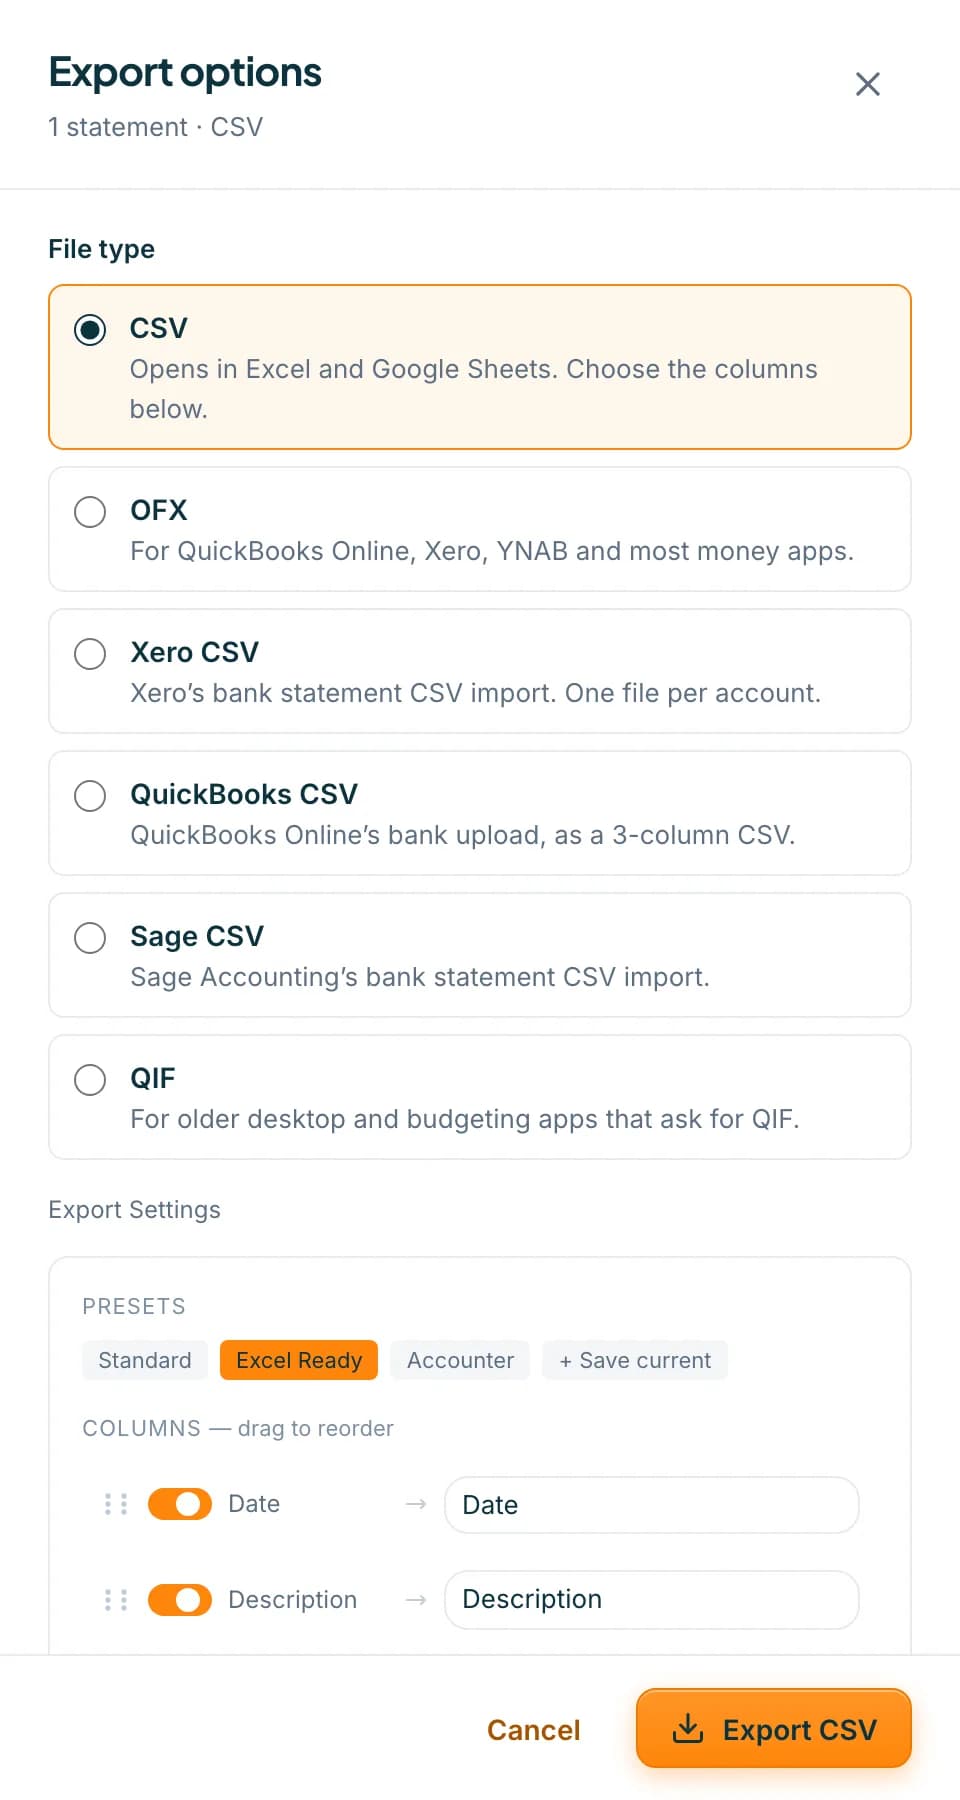 Open full size screenshot for step 3
Adjust the columns and formats
Switch each column on or off, type a different header name, and drag columns into the order you want. You can also combine Debit and Credit into one Amount column, choose the date format (DD/MM/YYYY, MM/DD/YYYY, YYYY-MM-DD, YYYY/MM/DD or DD-MM-YYYY), the decimal places, and the thousands separator. Press + Save current, give it a name, and press Save to keep your own preset.
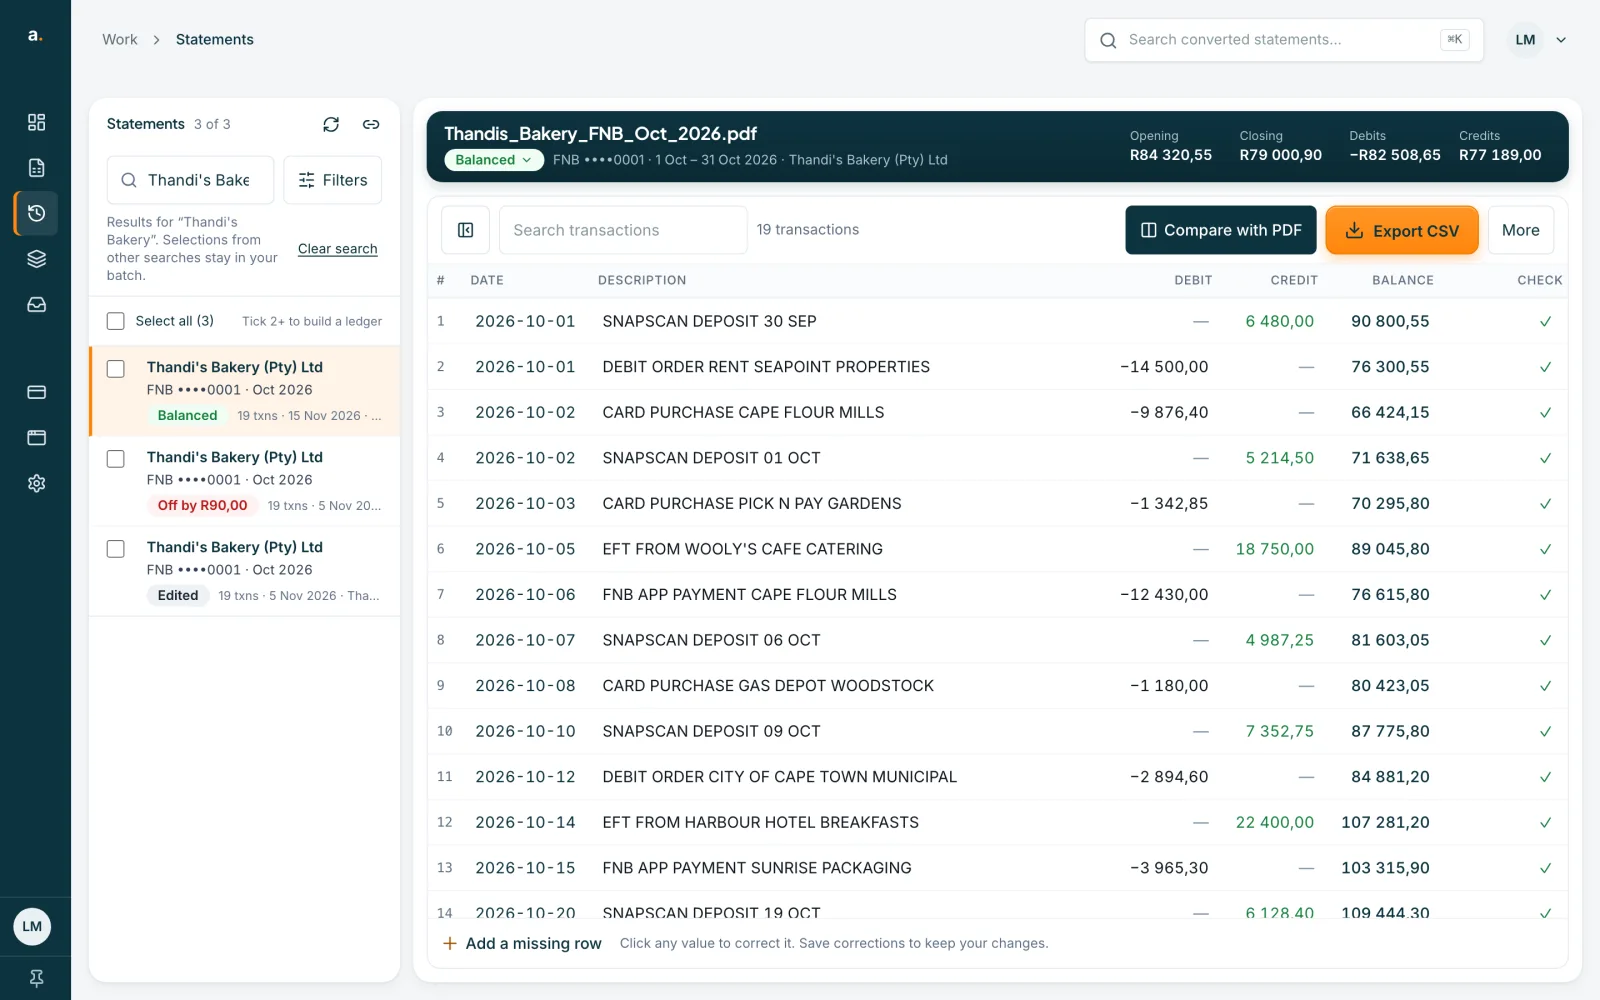
Press the export button
Press Export CSV, or the button for the file type you chose. The file downloads to your computer. To export several statements, tick them in Statements first and choose Download all. For CSV the panel then offers Download as one CSV or Download as zip. For the other file types it offers one file per account.
Tips
- OFX, QIF and the accounting-app CSVs have a fixed layout, so column presets apply to CSV only. For QIF you can choose the order of the dates in the file.
- Accounter remembers the last file type you chose in this browser, and your own presets are saved in this browser too.
- The file name is built from the client, bank, account and month, for example thandis-bakery-pty-ltd-fnb-0001-2026-10.csv.
- Save your corrections before you export. Downloads include saved changes only.
If something goes wrong
- You see Save or discard your changes before downloading.
- You have unsaved edits. Press Save corrections, or Discard changes, then export again.
- An export says the date on a row could not be read.
- Correct that date in the table, as the message says, and export again. OFX, QIF and the accounting CSVs need a readable date on every row.
- You expected an Excel (XLSX) file.
- Accounter does not make XLSX files. Choose CSV, which opens in Excel and Google Sheets.
- A custom preset has gone.
- Presets are saved in your browser. They will not be there in another browser or after you clear your browser data. Save the preset again.
- The Fees column is missing.
- Fees appear only when a statement has fees and fees are set to a separate column. Some banks list fees for reference and bill them later as their own rows, so the CSV leaves them out.
Related guides
- Export a statement to Xero, QuickBooks or SageDownload a converted statement as a Xero, QuickBooks or Sage CSV, then upload it to your accounting software as a bank statement import.
- Edit a statement and save correctionsFix a row that was read wrongly, add a missing row or delete an extra one, then save so your downloads include the changes.