Export a statement to Xero, QuickBooks or Sage
Last reviewed 15 November 2026 · 6 steps
Download a converted statement as a Xero, QuickBooks or Sage CSV, then upload it to your accounting software as a bank statement import.
Free account
Steps
Open the statement and press Export CSV
Choose Statements, open the statement and press Export CSV. Check that the Balanced badge is green first, and save any corrections, because the export uses the saved rows.
For Xero, choose Xero CSV
Under File type, choose Xero CSV. The button changes to Export Xero CSV. The file has the columns Date, Amount, Payee, Description and Reference, with the transaction text in Payee.
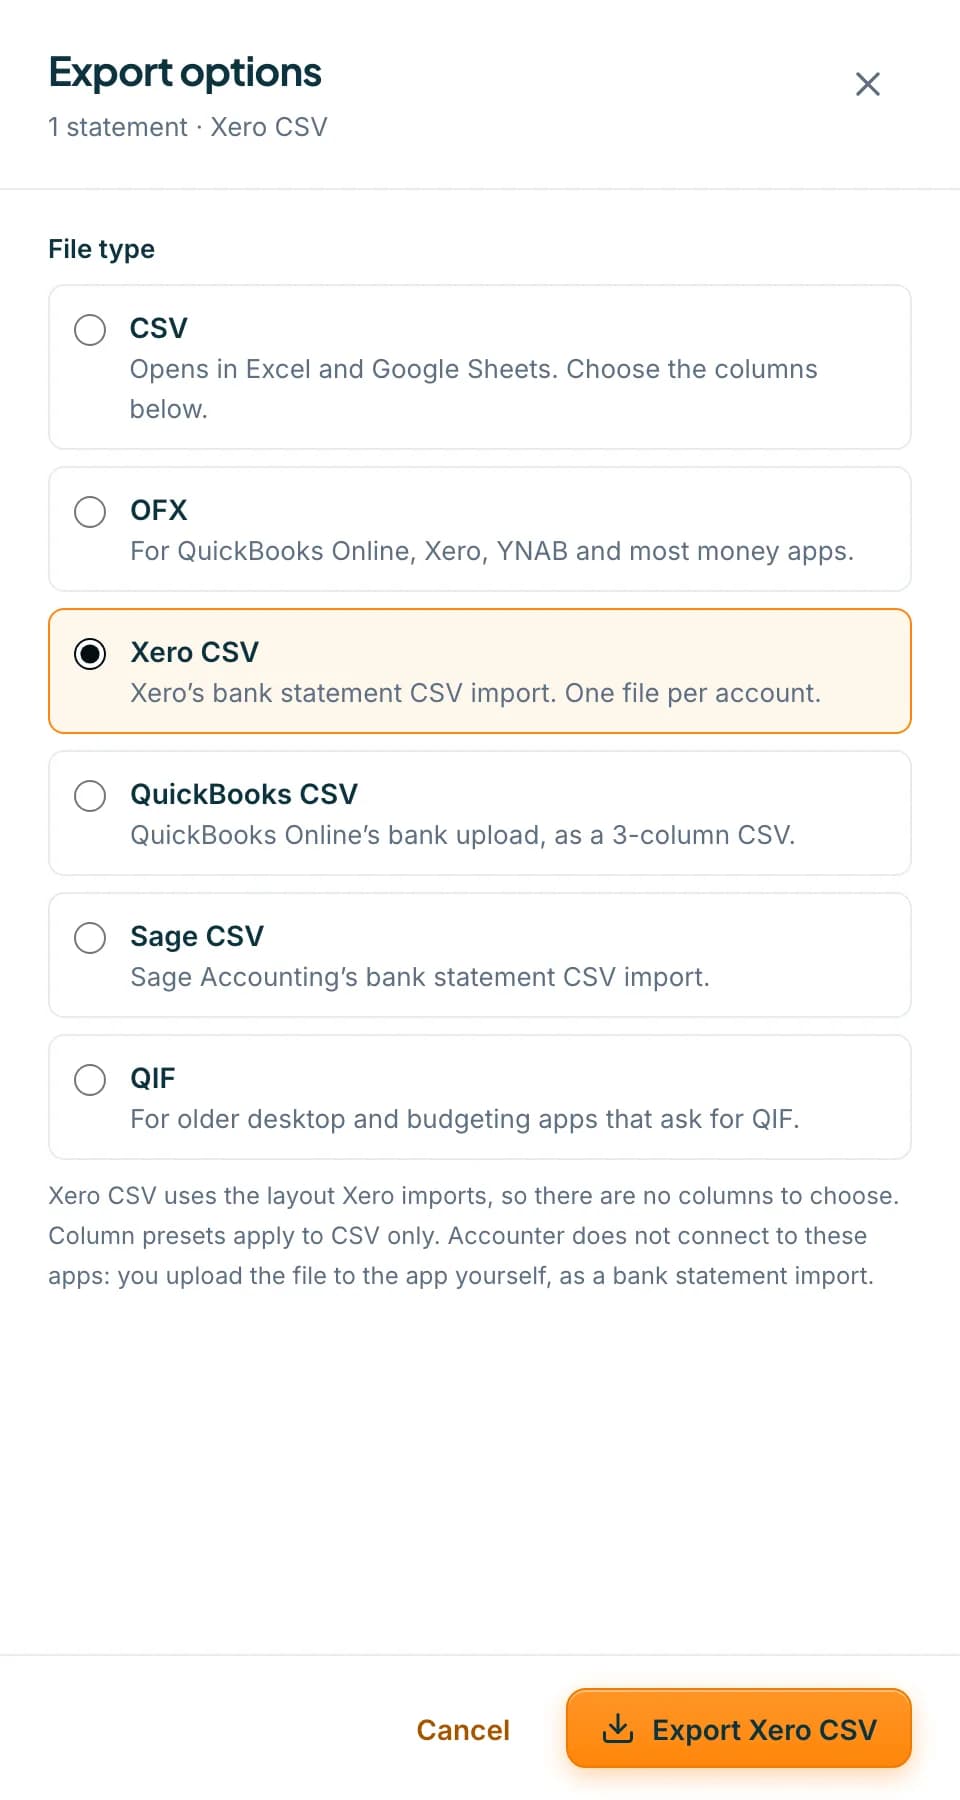 Open full size screenshot for step 2
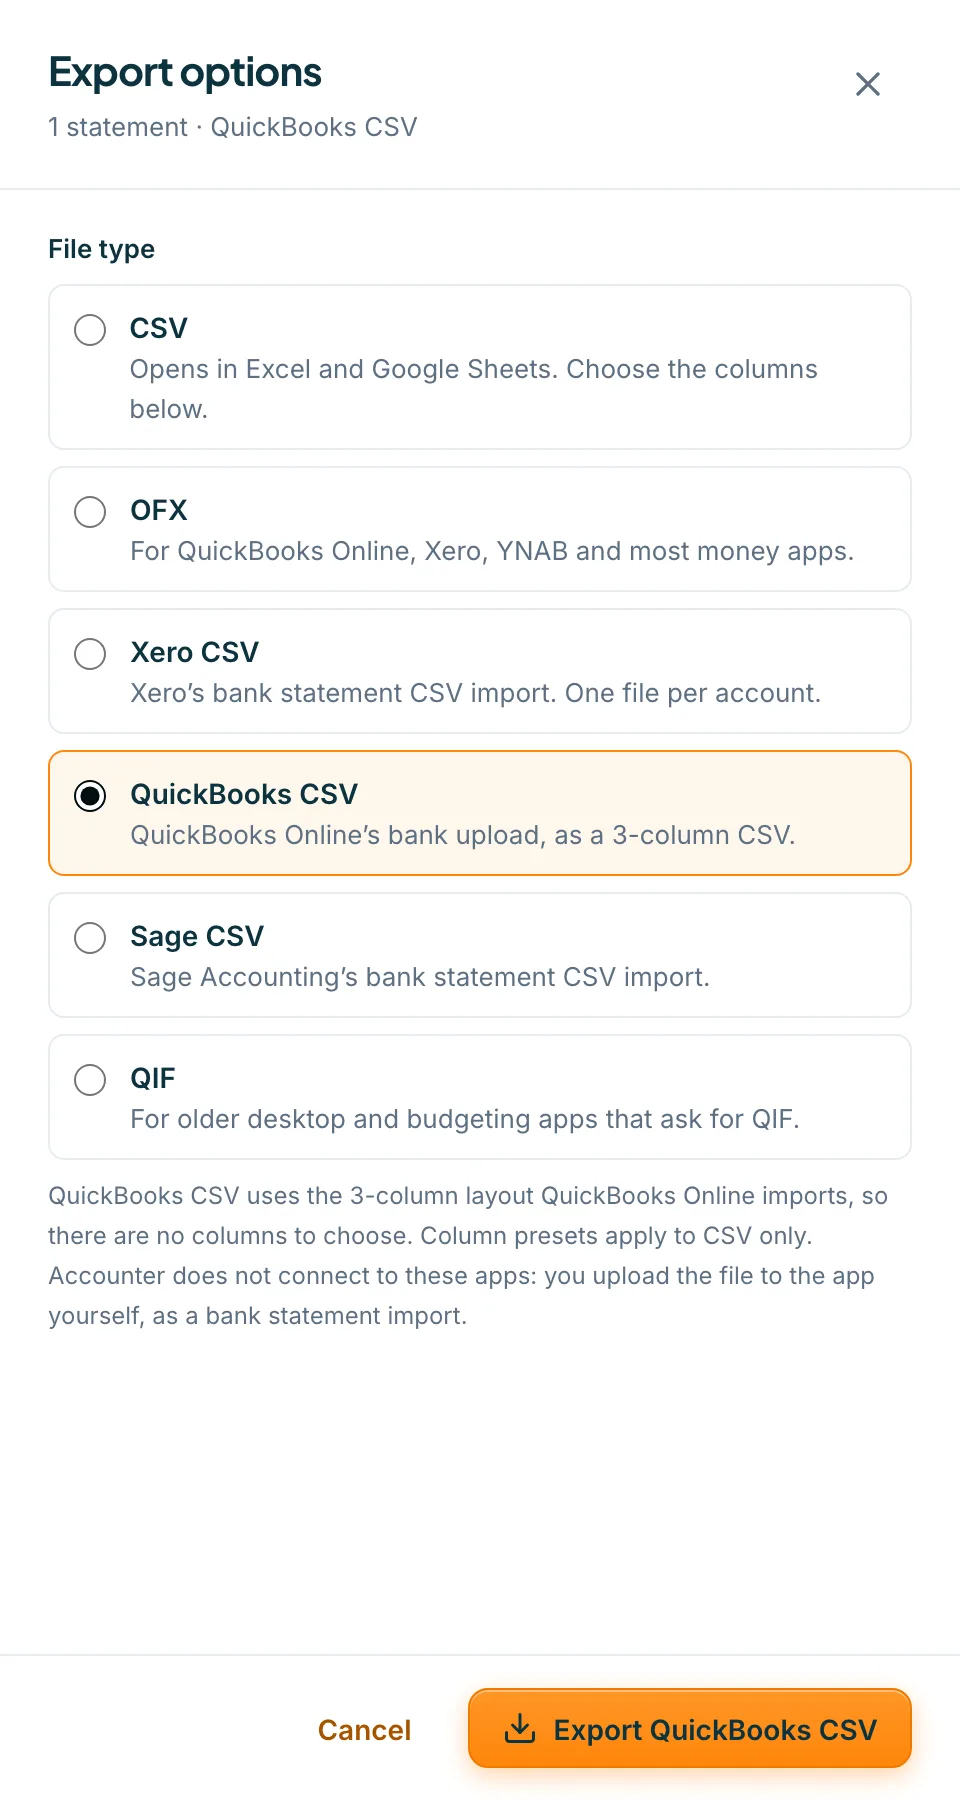
For QuickBooks Online, choose QuickBooks CSV
Choose QuickBooks CSV and the button changes to Export QuickBooks CSV. The file has three columns: Date, Description and Amount.
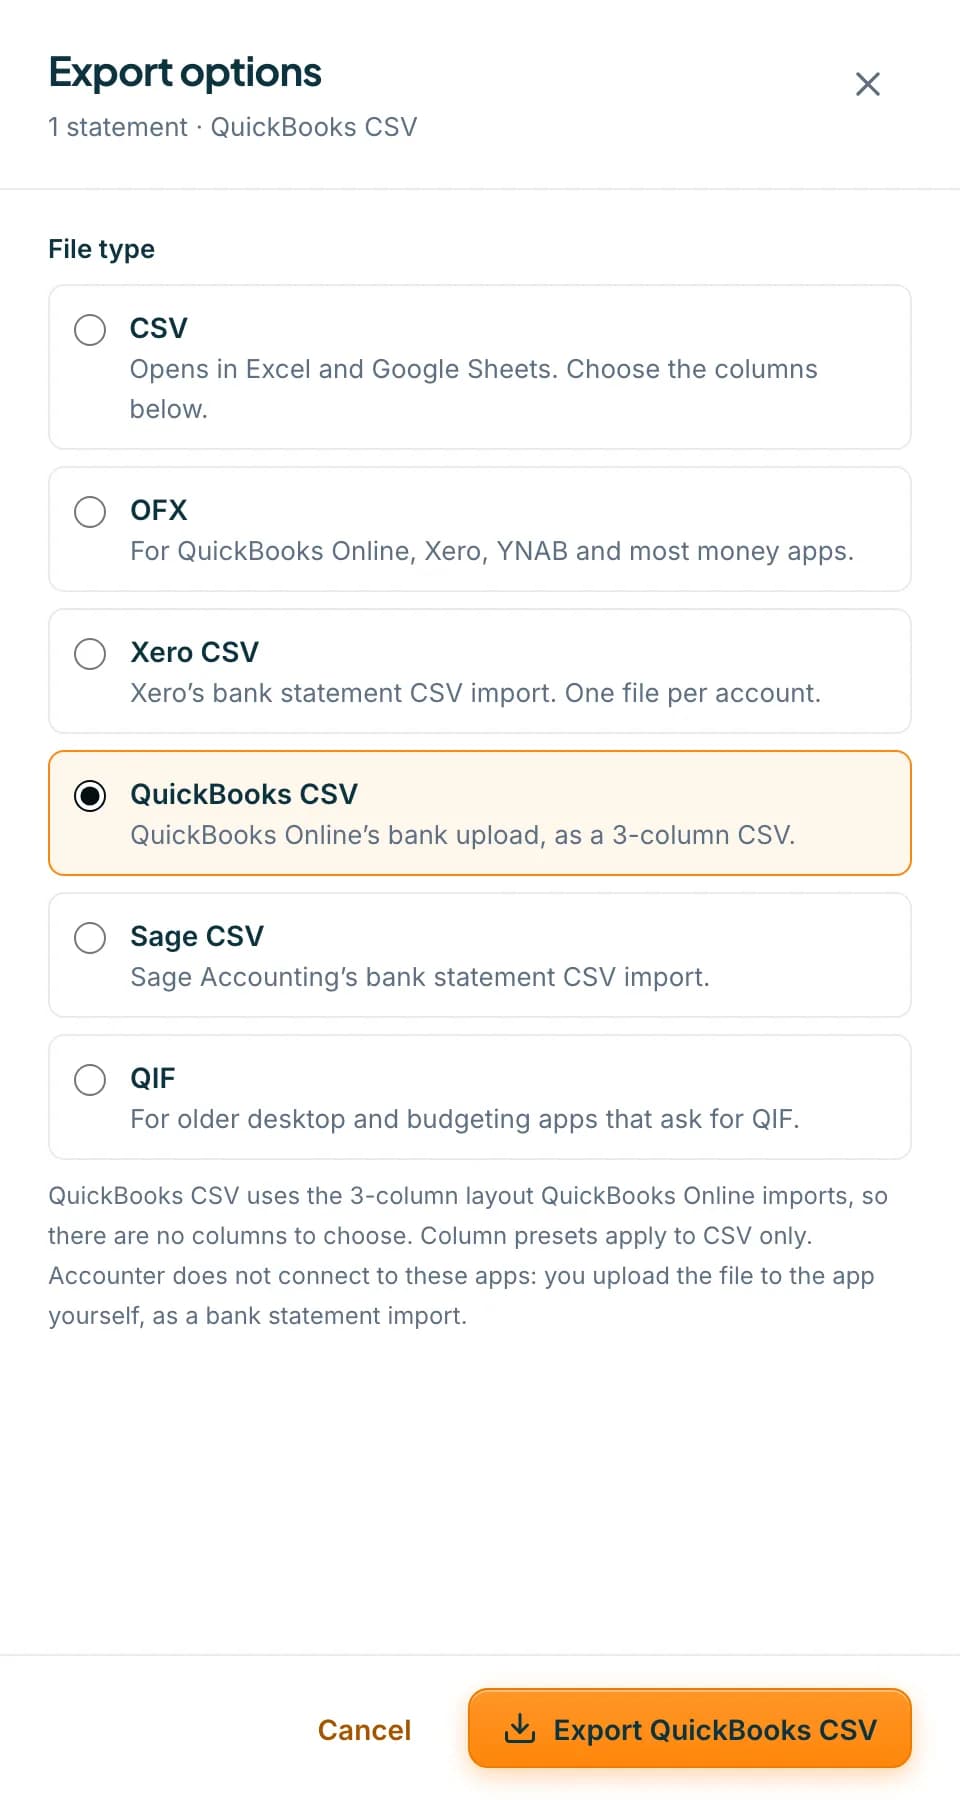 Open full size screenshot for step 3
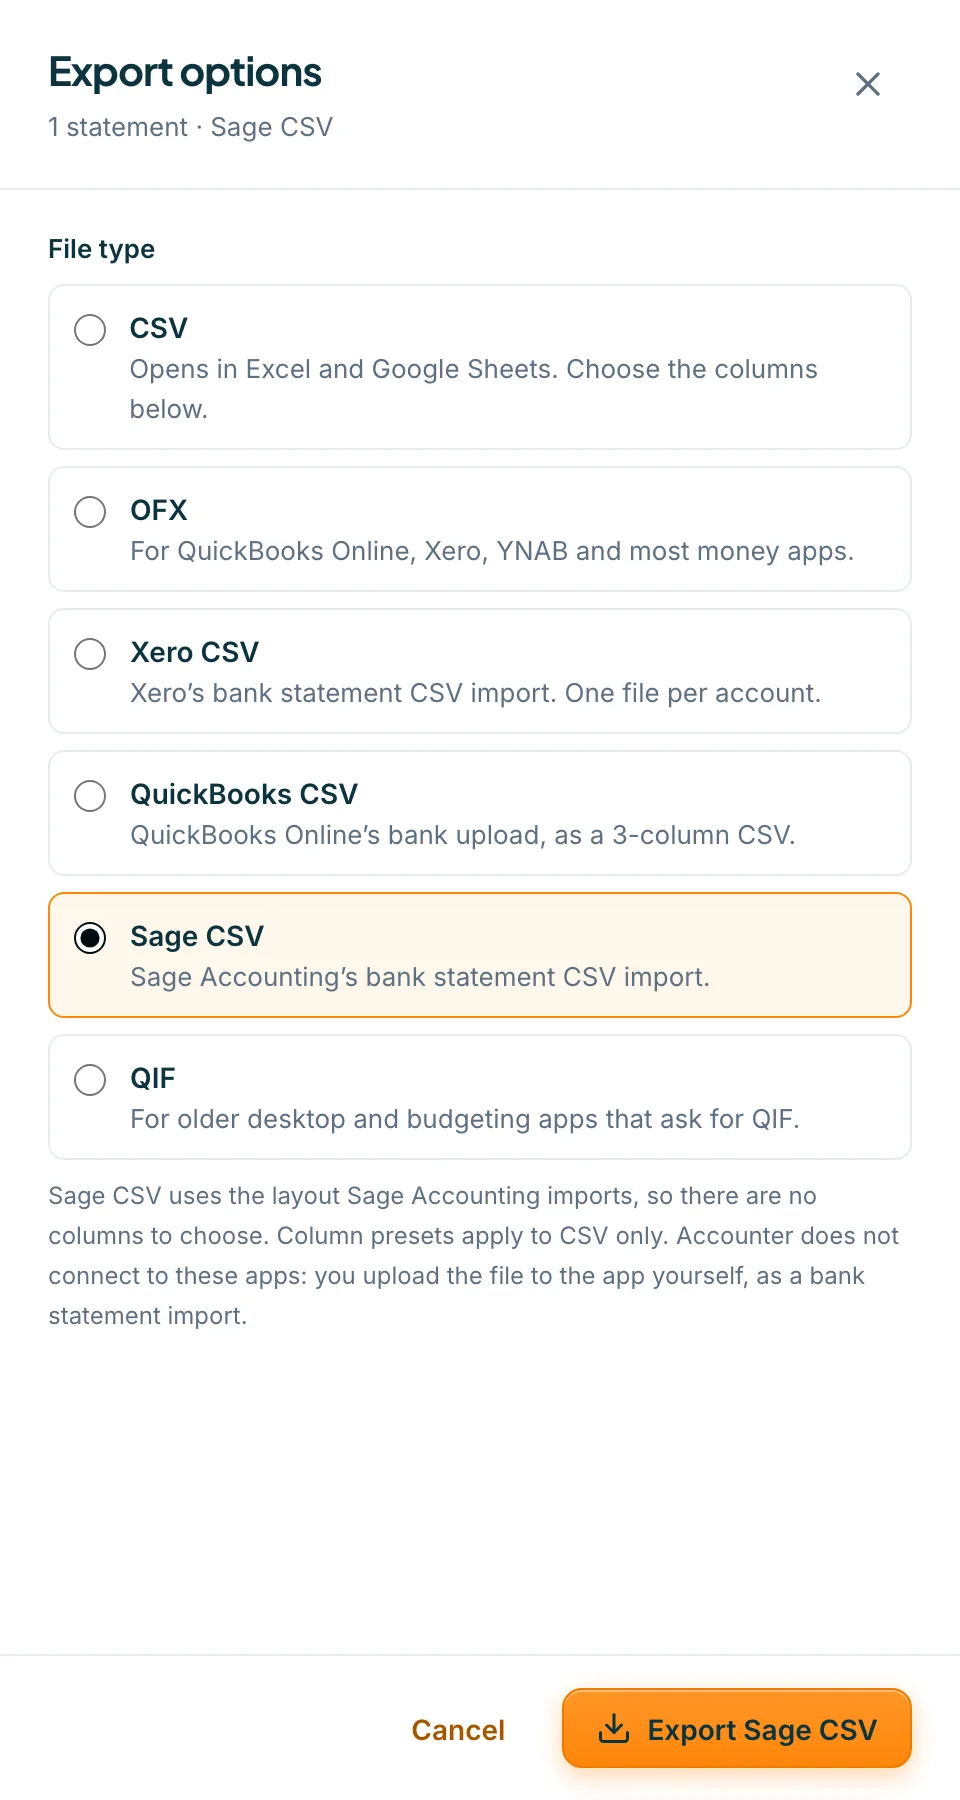
For Sage Accounting, choose Sage CSV
Choose Sage CSV and the button changes to Export Sage CSV. The file has the columns Date, Description and Amount. Accounter leaves out rows with a zero amount, and shortens descriptions to 100 characters on one line, to suit Sage.
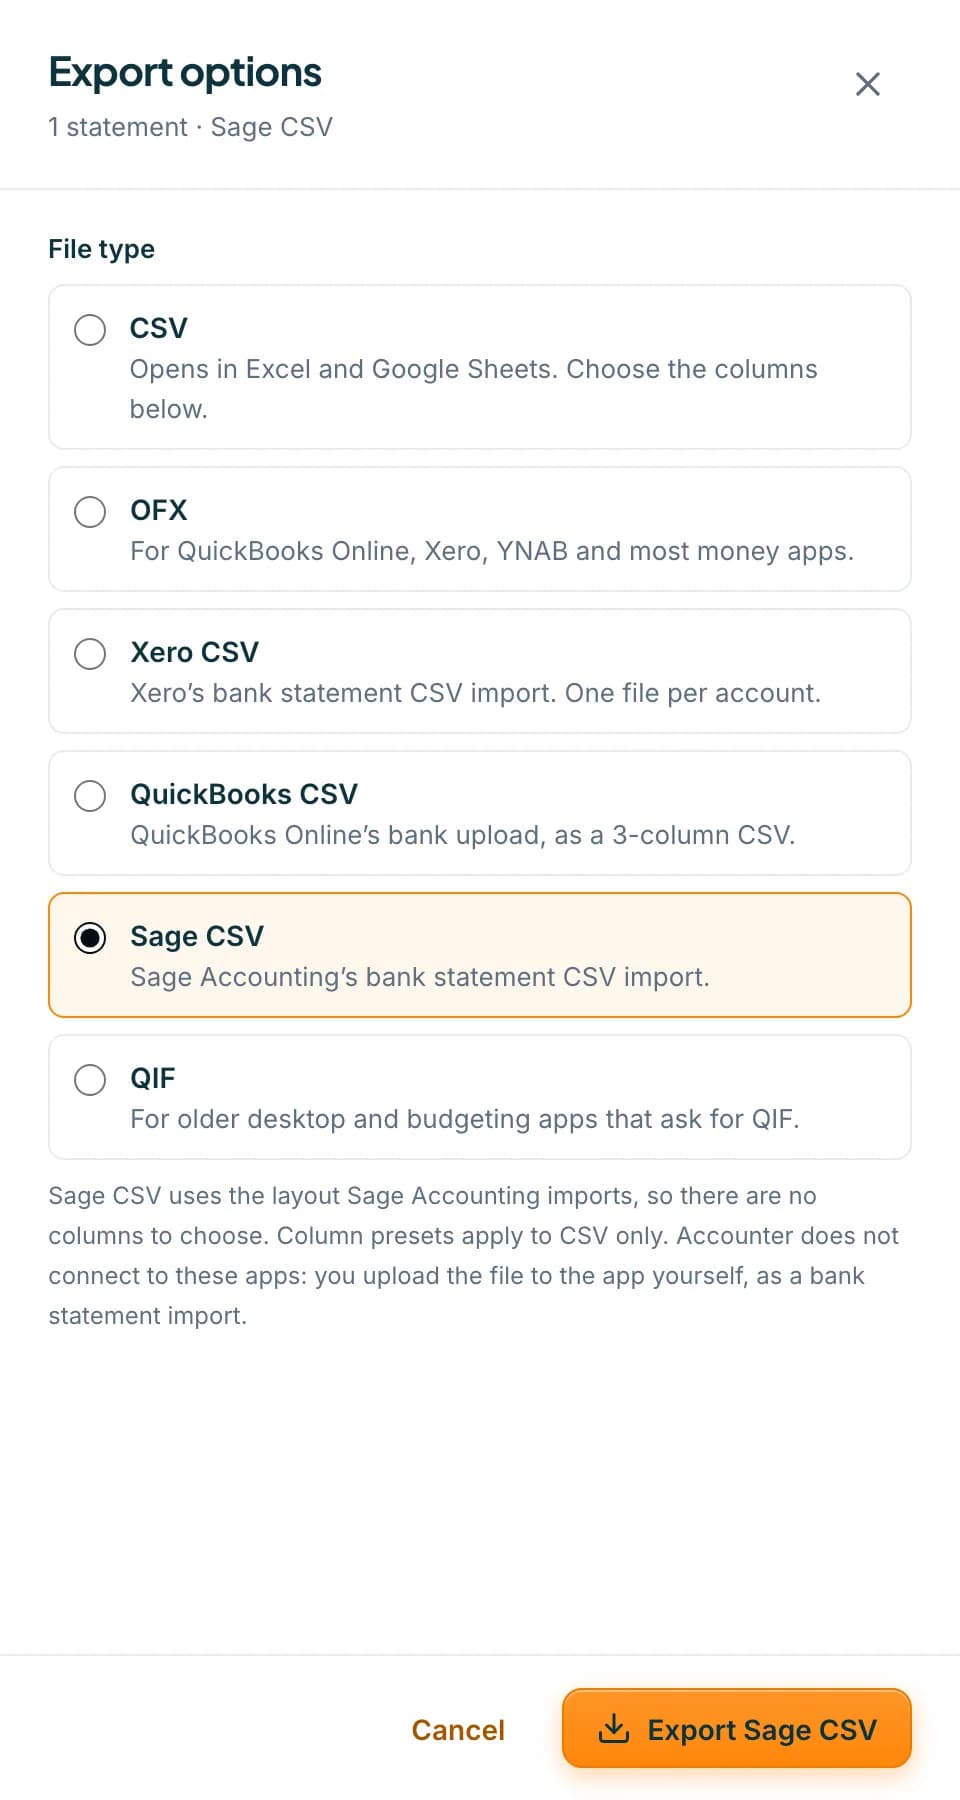 Open full size screenshot for step 4
Press the export button
Press the export button to download the file. In all three files the dates are written DD/MM/YYYY, money in is a positive amount and money out is a negative amount. Each file holds one account. If you export statements for several accounts, you get one file for each account.
Upload the file in your accounting software
Accounter does not connect to these apps. Open your accounting software, go to the bank account and use its bank statement import to upload the file. The name of that screen differs between apps.
Tips
- OFX is another option. It is for QuickBooks Online, Xero, YNAB and most money apps. Like the others, it downloads as one file per account.
- The three accounting CSVs have a fixed layout, so the column presets used for plain CSV do not apply to them.
- Where a bank's fees change the running balance, the fee appears as its own row starting [Bank Fee].
- The file type you chose last is remembered in this browser.
If something goes wrong
- The export says the date on a row could not be read.
- Fix the date in the table, then export again. Each row needs a readable date.
- You see Save or discard your changes before downloading.
- Press Save corrections, or Discard changes, and export again.
- Your software rejects the file.
- Check that you chose the file type for that software and that you are importing it as a bank statement. Try OFX if the CSV import does not suit your setup.
- The balance on the import does not match the statement.
- Check the Balanced badge in Accounter first, and correct any flagged row before you export.
Related guides
- Choose your export file type and columnsDownload a statement as CSV, OFX, QIF or an accounting-app CSV, and set the columns, date format and presets for your CSV.
- Read the balance checkSee whether a converted statement adds up, find the row that does not, and read what the Balance checks panel suggests.
- Convert a bank statement PDF to CSVUpload a bank statement PDF, check the balance and download a CSV you can open in Excel.